That artificial stone you saw has been around for decades, and each year it gets more and more realistic.
All that’s important is that you love the look of the product and that it will stand the test of time. It sounds like you already have satisfied the first requirement, and you may even be happier if you see the many colors and styles of this artificial stone. And the name-brand artificial stones are manufactured in nearly ideal conditions with top-grade materials.
The good news is that just about anyone who has the physical strength to lift the small stones, mix up small batches of mortar and has enough mobility and dexterity to glide a trowel across a surface can install these artificial stones.
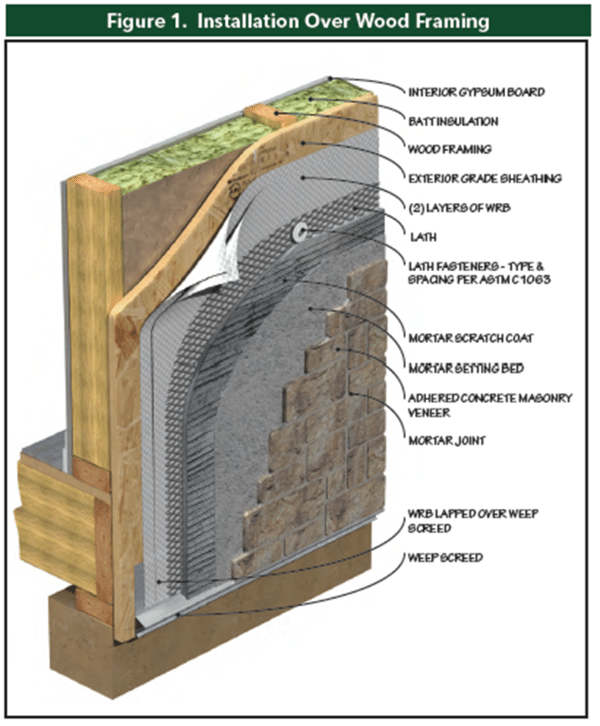
The first thing to do is read the instructions that come with the stones. You’ll probably discover that you can attach the stones to both wood and masonry surfaces. I would consider building a sturdy plywood-covered wall as support for a stone grotto on a porch. Mount the plywood to the wall with screws, then cover it with roofing felt paper and wire mesh. Wear work gloves working with these metal products to avoid cuts. An outdoor wall could be made with concrete block as the backer wall.
Once the wire mesh is securely fastened to the wood wall, you need to coat it with a thin layer of cement-based mortar. Your goal is to make this rough stucco base coat as flat as possible so there are few humps or dips. The rougher this surface is the better. You don’t want to rub it so it’s smooth like glass. A rougher surface will help the stones bond better. That’s the hardest part of the job.
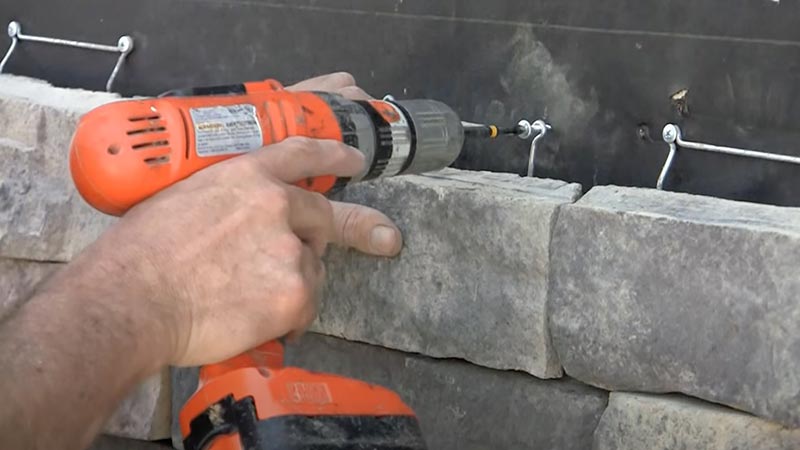
The task of putting the stones on the wall is simple. You apply fresh mortar to the back of the stones like you might butter a biscuit. If you want the stones to bond permanently, make sure the back of the stone is free of all dust and wipe it with a damp sponge to make the surface just slightly wet.


